Don’t let the weather or the off-season slow down your putting progress. Even in a small space at home, you can work on your short game and maintain good form. Just a few minutes each day is enough to maintain your touch, improve your consistency, and stay ready for your next round.
With these 5 putting exercises, you will develop your accuracy, calibrate your putts, and gain confidence with every stroke. The goal: combine efficiency, enjoyment, and motivation to transform your home training into real preparation for the course.
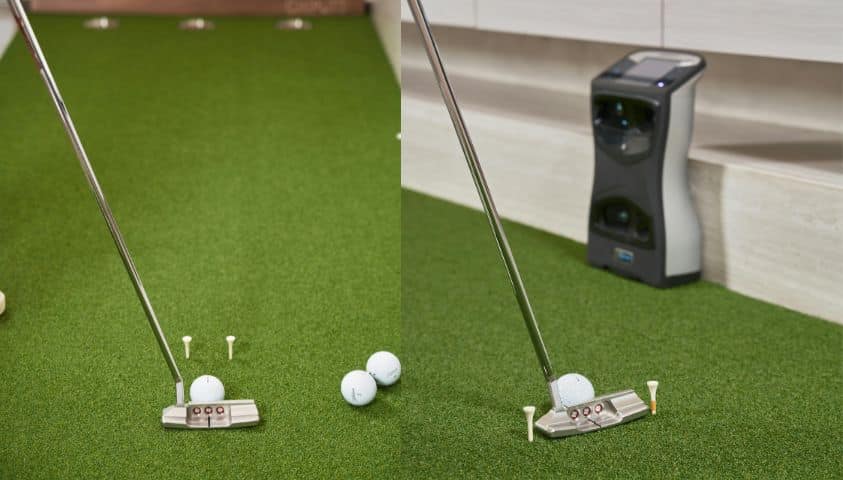
Why practice putting at home?
Putting is often the deciding factor in lowering your score and saving pars. Even off the green, you can optimize your performance by working on specific aspects of your swing.
The main benefits:
- Improve your touch and stabilize your rhythm: repeating putt sequences helps you establish a fluid, consistent, and easily reproducible motion, which is essential for consistency on the greens.
- Controlling speed on long putts: indoor practice helps you gauge the intensity of your stroke precisely, so that the ball ends up at the right distance behind the hole and you limit three-putts.
- Improved concentration and quality of execution: putting at home provides a calm environment, ideal for focusing on posture, alignment, and quality of contact.
- Strategic experimentation: you can test different trajectories, simulate slopes, and adjust your angle of attack without pressure, which promotes creativity and precision on the course.
Tip for effective progress: just a few minutes a day is enough to maintain your automatic reflexes and stabilize your putting stroke. This indoor practice will allow you to tackle each course with greater confidence, consistency, and precision on the greens.
Exercise #1 - Straight putt drill
Before looking at slopes or trajectories, a good putter must be able to roll the ball straight, with a square putter face at impact. This exercise is the basis of all putting practice, both at home and on the course.
Implementation
- A smooth surface (putting mat, short carpet, hardwood floor)
- A straight ruler
- A ball
Place the ball on the ruler. The putter must follow the ruler’s axis exactly throughout the stroke. The goal is for the ball to remain on the rail until the end of the movement; if it falls or deviates, this indicates a problem with the alignment or rotation of the putter face.
Process
Make short putts (1 to 2 meters) while focusing on:
- a straight movement of the putter head,
- a square face on impact,
- at a steady pace, without sudden acceleration.
Work in sets of 10 to 15 putts.
Technical objective
- Improve the quality of contact
- Stabilize the ball exit direction
- Strengthen regularity
Pro tip: if the ball consistently misses the line, the problem is rarely the path of the putter, but more often the orientation of the clubface at impact.
Exercise #2 - Gate drill
This exercise helps you work on the alignment and trajectory of the putter face, ensuring your putts remain straight and accurate. It is ideal for correcting path or rotation errors at impact.
Implementation
- A smooth surface (carpet, parquet flooring, rug)
- Two objects (alignment bars or books)
- A ball
Place the objects on either side of the ball to create a “tunnel.” The putter must pass between the obstacles without touching them.
Process
Make putts from 1 to 2 meters, focusing on:
- the square face throughout the stroke
- a straight movement of the putter head
- a smooth and steady pace
Repeat in sets of 10 to 15 putts.
Technical objective
- Enhance alignment and accuracy
- Check the path of the putter
- Stabilize ball-putter contact
Pro tip: Start with a wide tunnel, then gradually reduce the space to increase accuracy.
Exercise #3 - Distance control drill
Distance control is essential for avoiding three-putts and sinking your lag putts. This exercise helps you gauge your shots with precision.
Implementation
- A smooth surface (putting mat, hardwood floor, carpet)
- Several improvised targets (cushions, cups, marks on the ground)
- A ball
Place the targets at different distances, for example 1 m, 2 m, and 3 m.
Process
Putt toward each target, trying to stop the ball as close as possible. Focus on:
- the speed of the ball, adapted to the distance
- the feel and sensation of the ball
Repeat in sets of 10 putts per distance.
Technical objective
- Developing touch and sensitivity
- Mastering speed and control on long putts
- Boosting confidence on critical putts
Pro tip: Start with short distances, then gradually increase the distance to improve your consistency on all types of putts.
Exercise #4 - One-handed putting drill
LeOne-handed putting helps develop touch, feel, and control of the putter face, which are essential elements for refining your short game.
Implementation
- A smooth surface (carpet, parquet, or rug)
- A ball
Choose to start with your dominant or non-dominant hand, depending on your needs.
Process
Make short putts (1 to 2 meters) with one hand, focusing on:
- controlling the face of the putter
- the fluidity and regularity of movement
- the feel and sensation of the ball
Repeat 10 to 15 putts, then alternate with your traditional two-handed putt to compare the feel.
Technical objective
- Improve your touch and finesse of stroke
- Developing face control on every putt
- Strengthen sensitivity and confidence on the green
Pro tip: Tiger Woods often uses this method to feel the energy needed for each putt. Start with your dominant hand to master the movement, then try your non-dominant hand to develop precision and overall sensitivity.
Exercise #5 - Mirror drill
The Mirror drill is ideal for checking your posture, alignment, and eye position, which are essential for consistent and accurate putting.
Implementation
- A smooth surface (carpet, parquet, or rug)
- A mirror placed in front of you or slightly below your eyes
- A ball
Process
- Stand in the normal stance in front of the mirror.
- Make sure your eyes are aligned with the center of the putter, your posture is stable, and your arms and shoulders are moving in coordination.
- Make your putts by focusing on the consistency of your setup and the fluidity of your stroke.
Repeat in sets of 10 to 15 putts.
Technical objective
- Check and correct posture and alignment
- Developing stroke repeatability
- Improve confidence and accuracy
Pro tip: Use the mirror regularly to ingrain good habits. A stable posture and consistent alignment are key to ensuring that all your putts go in the right direction, even when you’re under pressure on the course.
Putting routine: 5 exercises to practice at home for a more accurate touch
These at-home putting exercises offer you a complete routine for working on direction, speed, touch, and posture, even when you’re far from the greens. With the Best Putting Mat 2026 – Tour-Grade Indoor Golf Practice, you can recreate realistic playing conditions at home and maximize the effectiveness of every session. Just a few minutes a day is enough to maintain your reflexes, boost your confidence, and keep your putting consistent.
Putting is often what makes the difference on the course. By practicing regularly at home, you will approach each green with precision and confidence, ready to turn your putts into pars and birdies.
Vary your exercises, have fun, and challenge yourself. Commitment and consistency are the keys to making rapid progress, even during the off-season.